How to remove the background of an image in Photoshop using the Magic Wand tool
It’s best to use the “Magic Wand” when you’re working with an image that has a high contrasting color between the main graphic and the background. It works best when the background is a solid color.
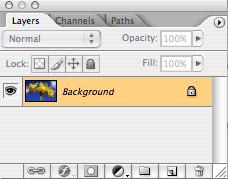
 Before we get started, you need to rename the “background” layer.
This is the most important step to get this process right.
When you open your image you’ll notice that your layer in the Layers pallet is named “background.” You need to rename this layer to anything else besides “background.”
Here’s how to do this:
Double-click on the “background” layer, a pop-up window will appear, name the layer anything that you want or just leave it as Layer 0 and hit OK.

 Ok, now you’re ready to remove that background layer.
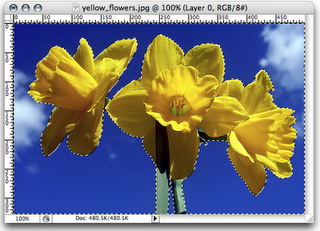
Choose the “Magic Wand” ![]() tool and then start selecting the background. In our case it’s the blue sky behind the yellow flowers. Hold the shift key to select multiple areas at once.
tool and then start selecting the background. In our case it’s the blue sky behind the yellow flowers. Hold the shift key to select multiple areas at once.
![]()
NOTE: If you’re image has the high contrasting colors between the image and the background like we have, it’s best to set your “Tolerance” level to 100 and keep Anti-alias and Contiguous boxes checked. This will let you select the background easier.
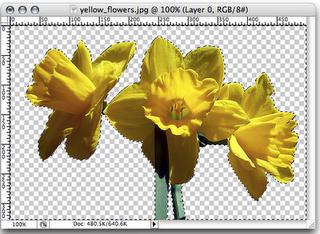
 After everything is selected, hit delete on your keyboard and your background will be removed. Notice instead of your background you see the checkerboard pattern; in Photoshop this means that the background is transparent.
That’s it you’re done!
Just don’t forget to save your hard work.
If you want to practice with this same image, you can download a copy at http://www.flickr.com/photos/77682540@N00/3414300515/

