A checkered background in Photoshop is not really what it seams to be. What it really is a way for Photoshop to tell you or actually show you that your layer doesn’t have a background and it’s actually transparent.
Let’s use this image of a rose as an example:
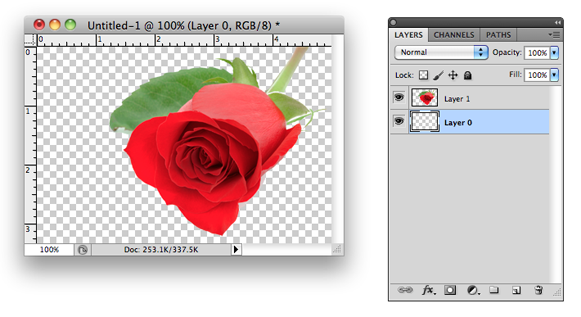 As you can see here there’s no background, it’s the picture of a rose. On the right is the Photoshop Layers palette and in my case I have 2 layers the rose on Layer 1 and an empty Layer 0 under it.
There are a couple of was to do this:
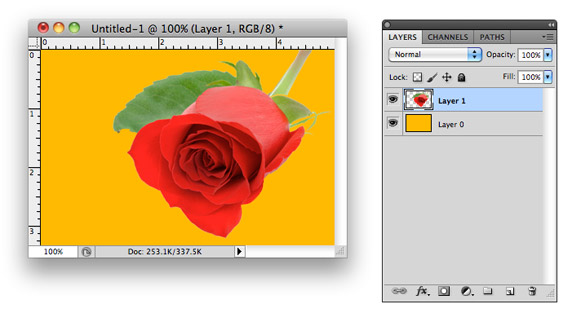
One way of doing this is to add a color or an image directly to Layer 0 (checkered layer) and that will get rid of the checkered background.
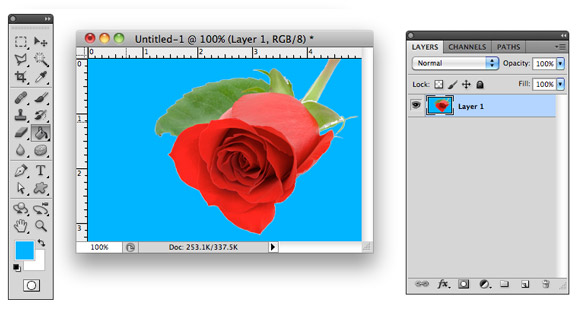
Another way is to delete Layer 0 and fill in the empty spaces directly on the layer with your image (Layer 1 in my case) using the Paint Bucket Tool  .
.
Make it easy for your potential customers to find your small business on Facebook. It’s simple to create a custom username on Facebook for your business page. All you have to do is login to your Facebook account and then go to http://www.facebook.com/username
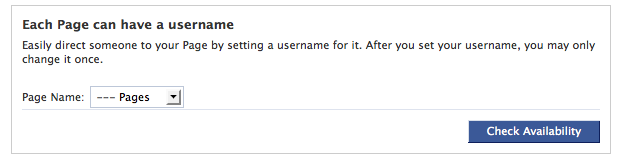
Choose your page from the drop down menu and you’ll have the opportunity to type a custom username. Make sure to follow Facebook guidelines when choosing a custom username for your business page.
IMPORTANT: You can only change your page’s username ONCE, so make sure to double-check all spelling.

That’s it! Now you have a simple Facebook username to share with everyone.
To make any image such as a banner clickable you will need to add HTML code to that image.
Here’s an example code that you can use:
<a href=”http://www.designleap.net”><img src=”image_name.jpg”></a>
replace www.designleap.net with any website where you want the image to link to
replace image_name.jpg with your image name (if your image is in a subfolder make sure you include the correct location)
OK, so you understand the concept of showing your main website content above the fold on your website. Now you wonder “how do I display my main content to all the visitors the same if all of them have different browser size resolutions?” There’s a simple solution to what you probably thought was impossible to do.
To make sure that your main website content fits above the fold for your users, follow these steps:
- Check your analytics program to see what top 3 screen resolutions your users are using. Since you can’t please everyone, you can at least please the majority of your website visitors.

- Go to the Google Browser Size tool http://browsersize.googlelabs.com and enter your website next to the Google logo and hit Go.

- Evaluate the colorful chart to see if your website’s main content fits within your top 3 screen resolutions from step 1.
- Adjust your website content if necessary.
